My next step was calling the city to see if I needed any sort of demolition permit before I started cleaning out the inside. The response I got was "Not if you aren't tearing down the whole building or making structural changes". (Please note that this is NOT accurate info as we'll see later) Cool, I'm just taking down drop ceilings and interior partition walls, so no load bearing walls or any exterior structure, so I guess I'm good to go.
Here are some of the basic "before" pictures from day 1:
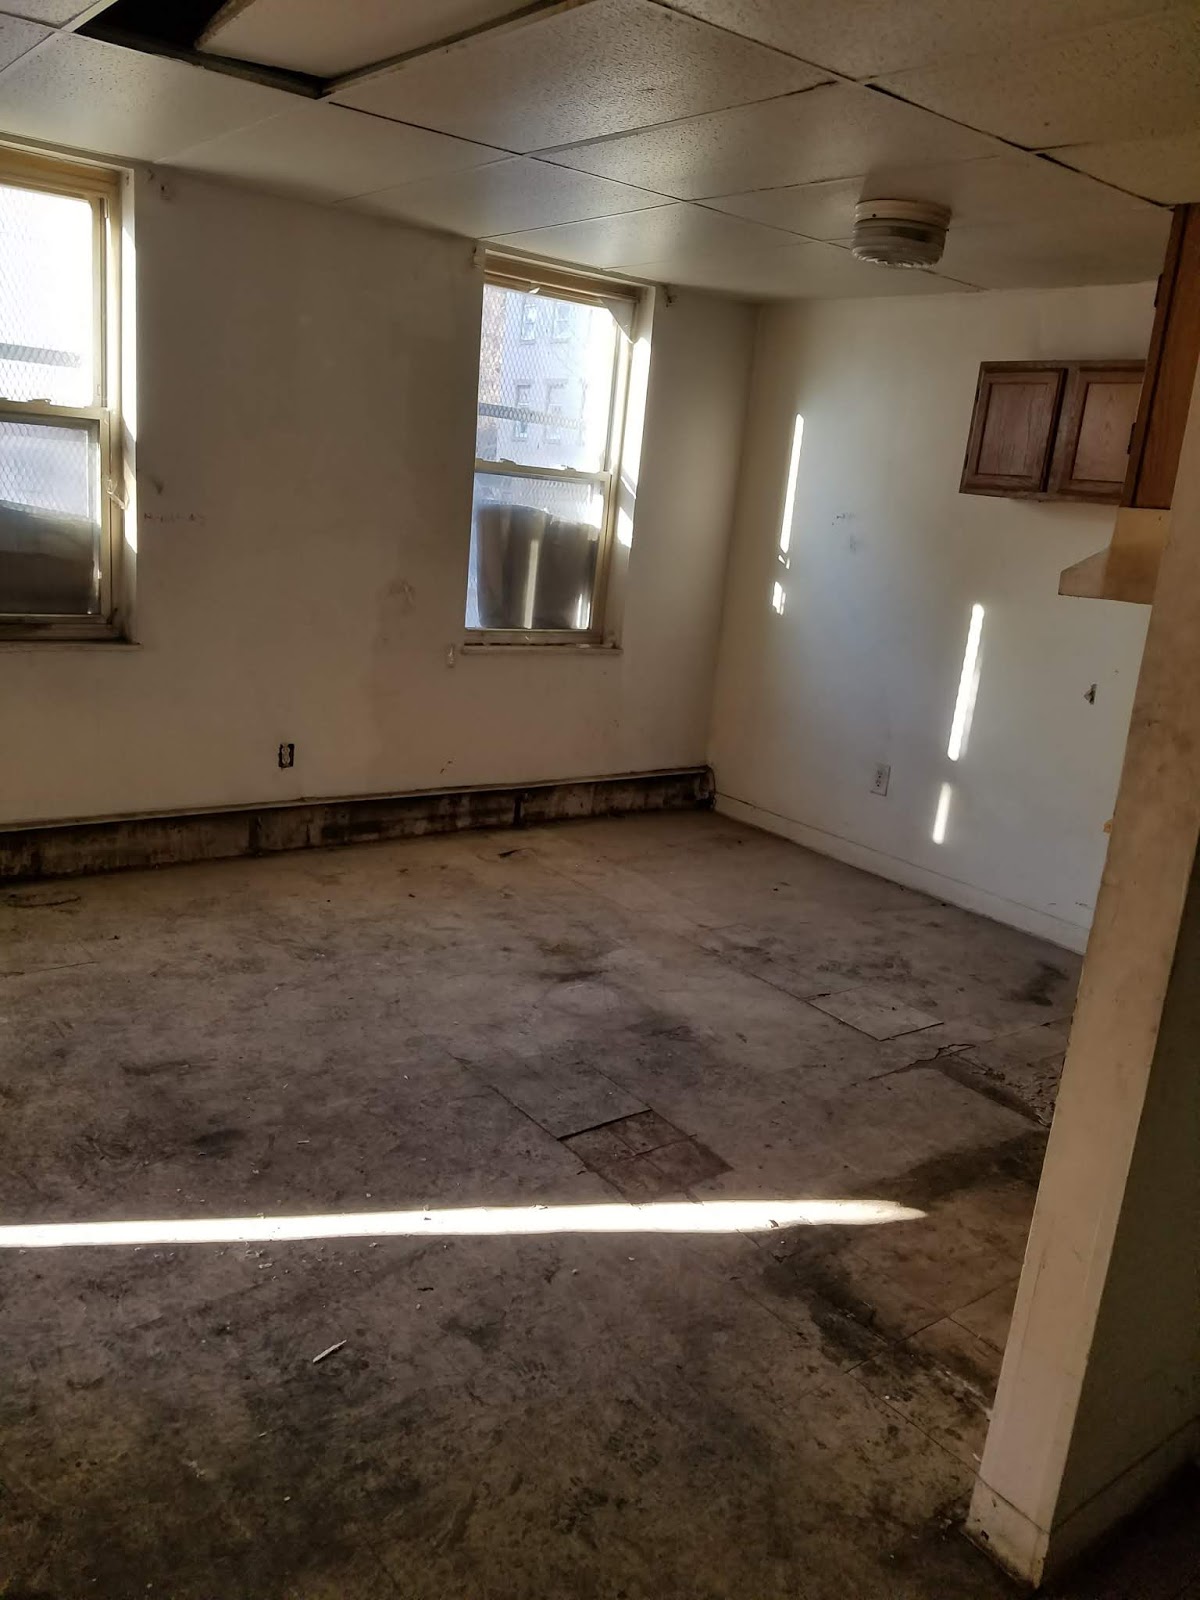


Basically this was a former Denhart building - converted in the 1970s to low-income housing using a standard template: drop ceiling height (drop panel ceiling in this case), drywall on furring strips over the original plaster on brick (here beat to hell), cheap busted doors (no mercy from Jesus on this one), smaller aluminum windows than the openings & metal grates on exterior (some hidden interior detail left above here), and shitty bathrooms (literal dried shit in this toilet's whole bowl). Pipes had been stolen as well as the boiler & associated radiator piping, which is also typical Denhart. Electric service to the building was disconnected at the street (important step before any demo!). Water service to the meter, all pipes disconnected and drain pipes cracked/needing replaced.
In short, very little to salvage in what could be seen. I needed peel back the layers of the onion to see what the bones to work with looked like though.
Started with protective gear - gloves, work boots (still didn't stop one nail from reaching my foot), dust mask (preferably a respirator), hard hat, and eye protection. Then first thing to come down was the drop ceiling - luckily just panels and not drywall. Popped out each panel and stacked, then used wire cutters to bring down the metal frame (save for scrap metal).
My dad and I made quick work of it.

Next, I identified any load-bearing walls. Since I could see from exterior wall to exterior wall through the drop ceiling cavity and no interior partition walls even connected to the true ceiling height, this was a good sign that they were not supporting anything. Time for the fun part.

(Panels down and stacked)


(Falling wall paper hides the view from exterior wall to exterior wall in the ceiling cavity)
Unlike HGTV, there is a smarter way to do demo on these partition walls.
#1 Use a crowbar to pop baseboards, door casings, and door frames. I found that even metal door frames were no match for a crowbar - just get in behind it on one spot then twist, repeat.
#2 Break off the drywall in large pieces (to make moving & clean up easier). I found that using a pick ax tool like this was ideal - cut the drywall face with the ax face until you can get the hoe face behind the drywall (in the stud cavity), then pull outwards and the drywall should pop off the nails/studs in a large sheet towards you. Once you get one side done, just hit from the backside for the other (see above).
#3 Break down all of the wood stud walls the smart way. First, put down the sledge hammer or pick ax. Next pick up the Sawsall with a blade meant to cut wood & metal nails. Use it to cut along the top of the sill plate (bottom horizontal board at the floor level) where the vertical studs start up. Cut the nails connecting it to the bottom, then push over the wall when only a few are still holding it up. Once on the ground, either finish cutting the remaining gaps between studs along the former header plate (top of wall) or just lift each vertical stud perpendicular to the rest of the wall (nails should pull themselves out). Now you have lumber that you might be able to reuse (use crowbar to get drywall nails out if you are going to) or at least carry out more easily.
And you didn't even throw your back out!

(Good form by my dad on the drywall, but wrong tool [crowbar, not pick ax] means smaller pieces)

(Between steps #2 & starting #3)
Repeat on the exterior walls by getting the hoe end of the pick ax between the furring strips in the air cavity behind the drywall and in front of plaster.
Ok, great. It's all down, but that was a lot of stuff that needed to go somewhere. Ideally you had a dumpster outside where you could carry your drywall & ceiling tiles to directly (so you don' need to move things twice!). I didn't have one so in the interim I had a stack/pile of drywall, a stack of ceiling tiles, a stack of studs (lay down; not against the wall like me), and a pile of metal scrap (from ceiling frame). You are now at this point.

The next step is safety. First, use some of that scrap lumber to build a temporary railing on this stairway opening. Second, cover any smaller holes in the floor with plywood to prevent rolled ankles.

(Railing for safety)


(Piles of lath like this are super flammable and dangerous to leave inside the building)
I actually ended up burning the wood lathe in my backyard in a friend's fire pit cage. It took a while, so I'd probably try to fit it into the dumpster next time in the gaps. The plaster is heavy as ****. Junk King earned their weight in gold that day (like 90 degrees too) hauling it out.
It was about at this point that I got the brakes put on me by the City of Cincinnati. Everything was down, there were things like this just about to be hauled away, and I had just called to have the full street dumpster hauled away the next morning. Then a building inspector happened to drive down my street that evening and see drywall dust leading from my door to said dumpster and left me this present:

Remember way at the beginning in the 2nd paragraph when I called the city to find out whether I needed a permit to do demolition? It wasn't accurate info. You need a permit if you are going to remove any drywall (it can change the fire-rating of a wall assembly when it's removed to make a building less safe - I later learned...), so that drywall dust was enough evidence for this Stop Work order without even looking inside. Apparently the needed demolition permit is typically gotten at the same time as the normal building permits, and not separately like I should have done here - you know, if I was told that.... just saying...
In addition to this, a totally separate building inspector set up a wall-through inspection to reissue a Vacant Building Maintenance License (VBML) on the property (a carry-over from the previous owner). That whole saga is the next post, but needless to say he wanted the debris gone immediately...
So at this point, I was left in at a catch 22 of needing to remove downed debris and not being allowed to work.
--------
Side note: Once you get through the BS, you are now at this point below (and at an optimal time to host a spooky vacant building Halloween party). Keep at it.


No comments:
Post a Comment